


Creating a website used to be complicated—think coding, design expertise, and a whole lot of frustration. But now, Canva makes it incredibly easy to design and publish your own website on Canva, including the option to password-protect it for exclusive content access.
Whether you’re looking to create a private resource library, an exclusive members-only page, or a hidden portfolio, Canva’s password protection feature allows you to restrict access and share it with only those who need it.
Let’s break down exactly how you can create a password-protected website using Canva and how to use it to grow your brand and email list.
Why Create a Password-Protected Website?
With social media playing such a huge role in online marketing, you might wonder—do I even need a website? The answer is YES! A website acts as your digital home base, providing a central hub for your brand, content, and audience interactions. And with Canva, setting up a password-protected website allows you to:
- Share exclusive content with your audience or email subscribers.
- Create a private resource library filled with templates, guides, or digital products.
- Offer a VIP experience for clients or members.
- Control access to sensitive or premium materials.
Now, let’s get into the step-by-step guide to setting up your website on Canva with password protection.
How to Create a Password Protected Website on Canva
Creating a free website on Canva has never been easier! But do keep in mind that Canva is still extremely limited and it’s best used for creating a simple landing page.
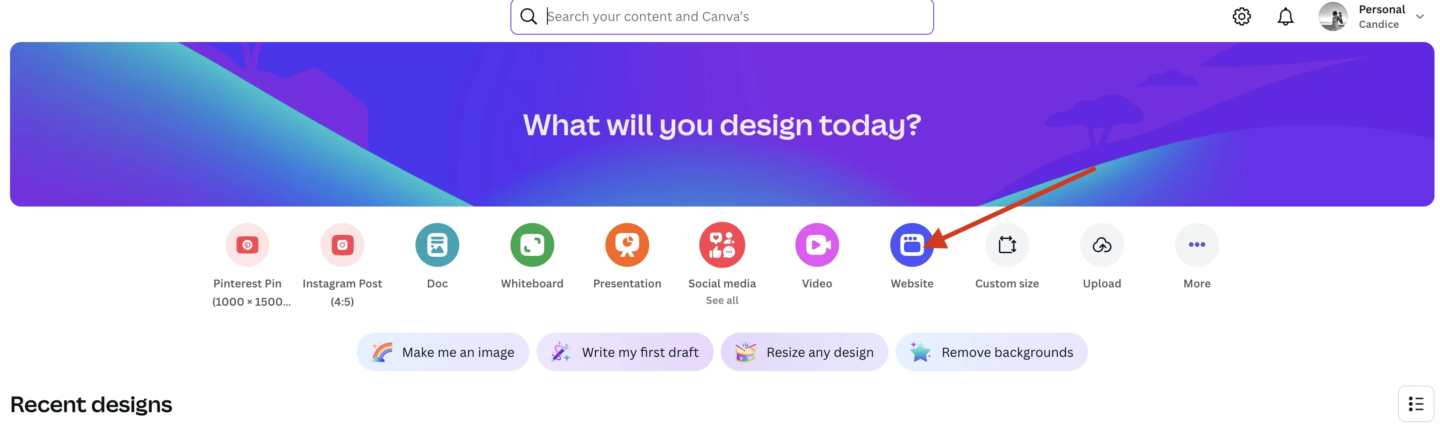
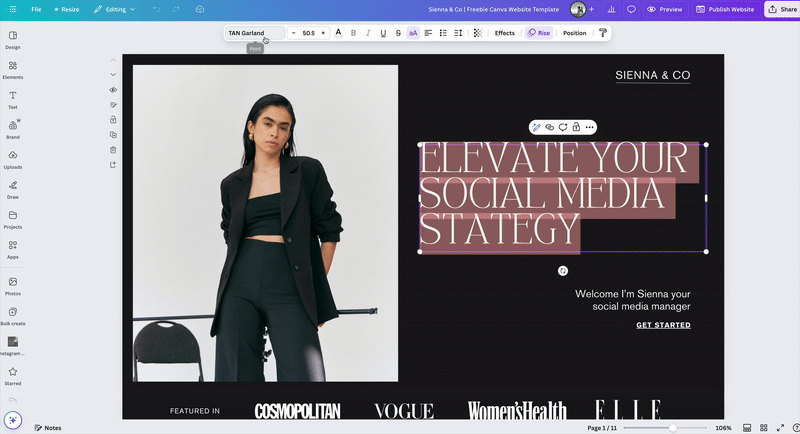
Step 1: Start with a Website Template
- Go to the Canva homepage and search for ‘Website’.
- Browse the available templates and choose one that fits your needs. If you have Canva Pro, you can even apply your Brand Kit for quick customization.
- Click on a template to open it in the Canva editor and start customizing it!
Pro Tip: If you don’t have Canva Pro, use the Styles tab to explore different color palettes and fonts that match your brand.
Step 2: Customize Your Website
Once you’ve selected your template, it’s time to make it your own.
- Add your branding (logo, colors, fonts).
- Include a strong CTA (call-to-action) to encourage engagement.
- Insert hyperlinks and buttons to direct visitors to different sections.
- Upload digital freebies, guides, or PDFs for your audience.
Tip: Use Canva’s drag-and-drop editor to create a seamless user experience that makes navigation easy.
Step 3: Add Hyperlinks & Buttons
Your website should guide visitors toward specific actions—whether that’s signing up for your email list, downloading a freebie, or accessing premium content.
To add a hyperlink in Canva:
- Highlight the text or click on a button you want to link.
- Click the chain icon link icon in the top right corner.
- Enter the URL you want to link to (this could be another page, a sign-up form, or an external website).
- Click Apply.
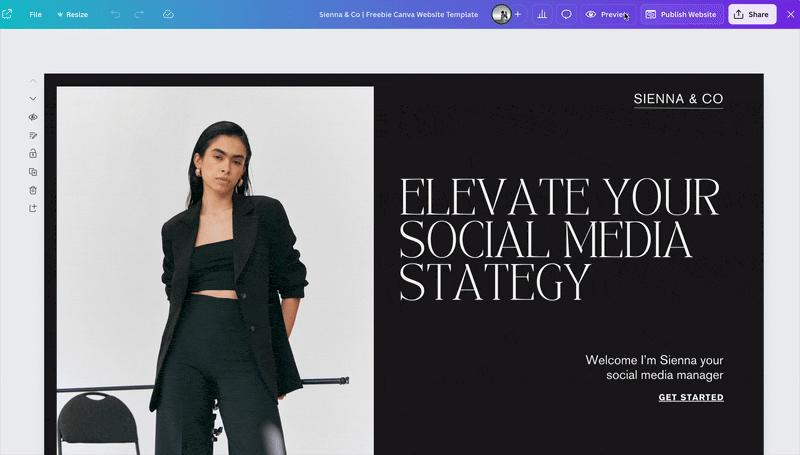
Step 4: Preview & Test Your Website
Before publishing, preview your site to ensure everything looks great on different devices.
- Click ‘Preview’ in the top right corner.
- Toggle between desktop and mobile views to see how it adapts.
- Check all links and buttons to ensure they work correctly.
Pro Tip: Design your website mobile-first since most users will visit from their phones.
Step 5: Publish & Set a Password
- Click the ‘Publish Website’ button in the top right corner.
- Choose ‘Free Canva Domain’ (or connect an existing domain).
- Customize your site description and URL for branding purposes.
- Enable password protection: Click on ‘Publish Website’ then ‘Publish Settings’ and ‘Advanced Settings’ this will allow you to set a custom password on your website.
- Click ‘Publish’, and your website is LIVE!
Now, only people with the password can access your exclusive content.
How to Share Your Password-Protected Website
A password-protected website on Canva is perfect for exclusive content delivery. Here are some ideas on what you can do with a password protected website:
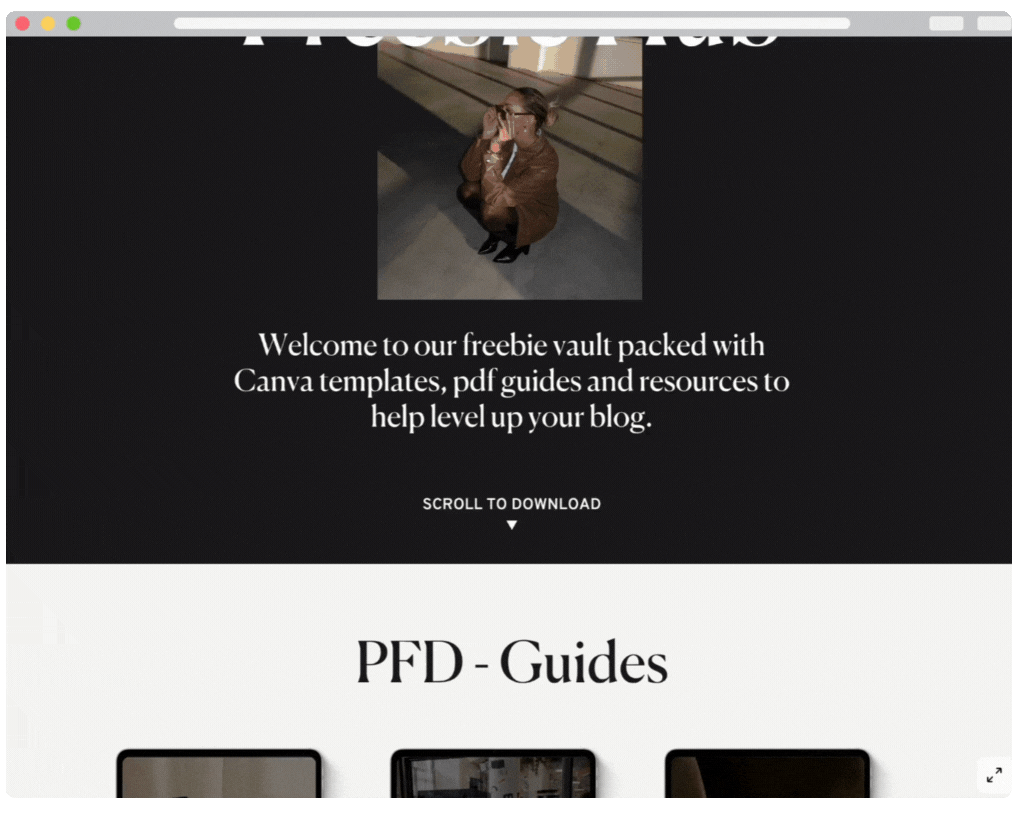
1. Use It as a Resource Library for Subscribers
- Create a lead magnet (like an ebook, checklist, or course) and store it on your Canva website.
- Ask users to sign up for your email list to get access to the password.
- Use Flodesk to design stunning opt-in forms that direct subscribers to your private content.
2. Offer Exclusive Content for Paid Clients or Members
- If you run a coaching program or membership site, use a password-protected page for VIP content.
- Share workbooks, templates, or private videos with select clients.
3. Use It for Private Product Previews
- Before launching a new course or product, create a private preview page for beta testers or select customers.
- Gather feedback before going public!
Final Thoughts
A password-protected Canva website is a simple yet powerful way to share exclusive content, grow your email list, and provide value to your audience. With just a few clicks, you can design a beautiful, on-brand landing page and restrict access to those who truly matter.
Are you planning to create a private Canva website for your business? Let me know in the comments!


0 Comments