Let’s cut to the chase: if you’re blogging but haven’t created a lead magnet yet, you’re leaving subscribers on the table. The kind of subscribers who aren’t at the mercy of an algorithm and actually want to hear from you.
But not all lead magnets are created equal.
If you want a lead magnet that actually converts — turning casual scrollers into email subscribers and warm leads — you need more than a pretty PDF. You need strategy, clarity, and a deep understanding of your audience’s “I need this right now” moment.
In this guide, we’ll walk through how to build a lead magnet that your audience can’t wait to sign up for.
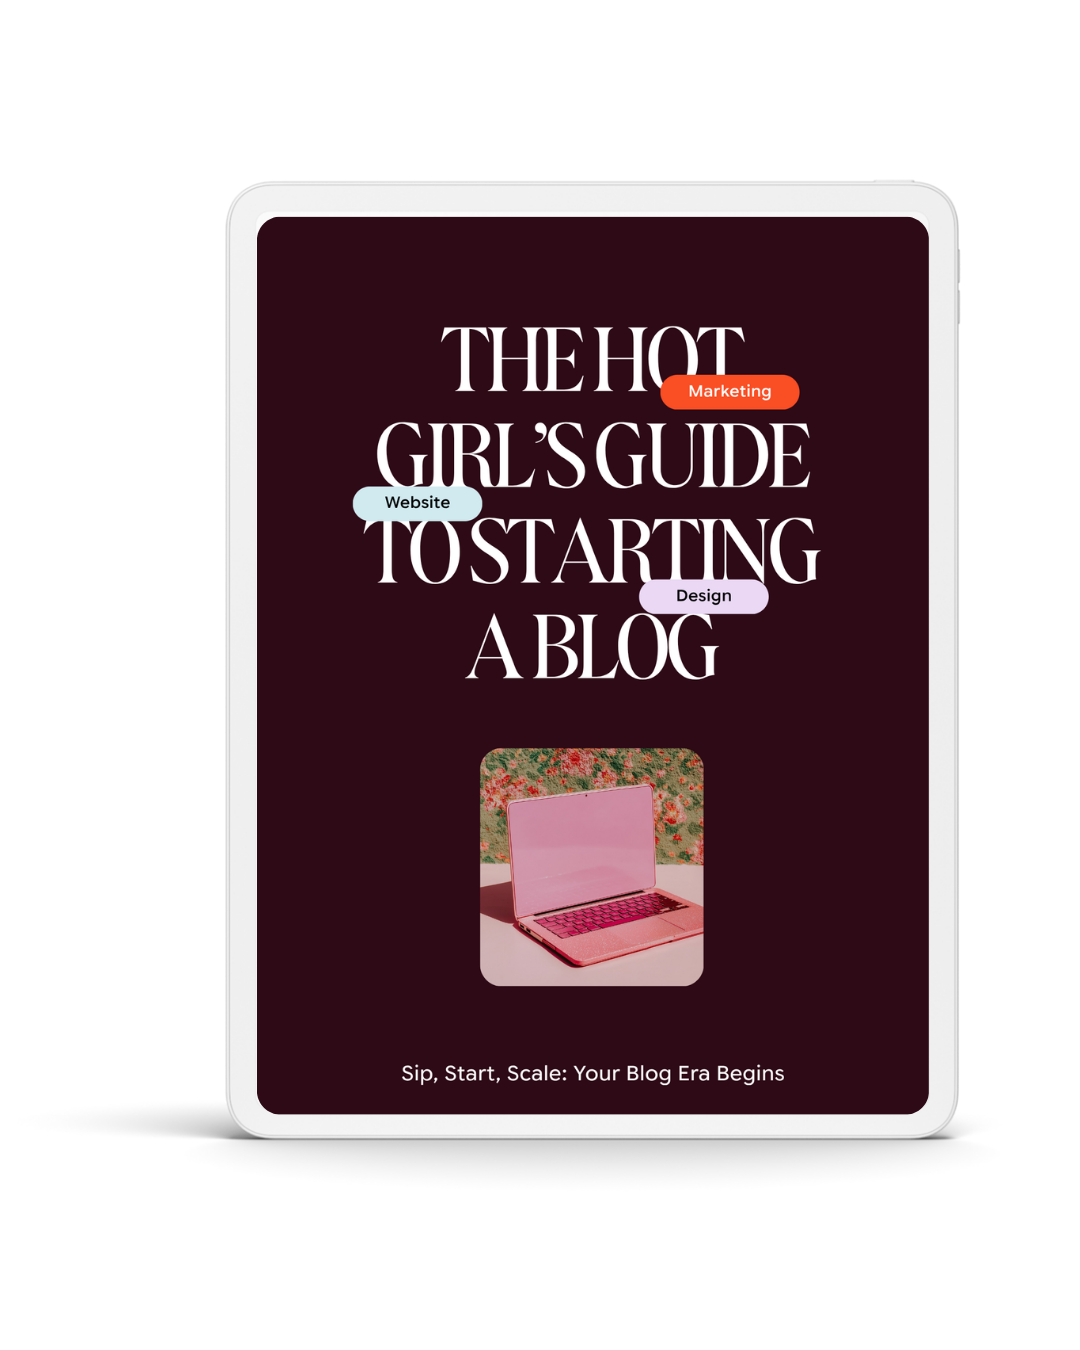
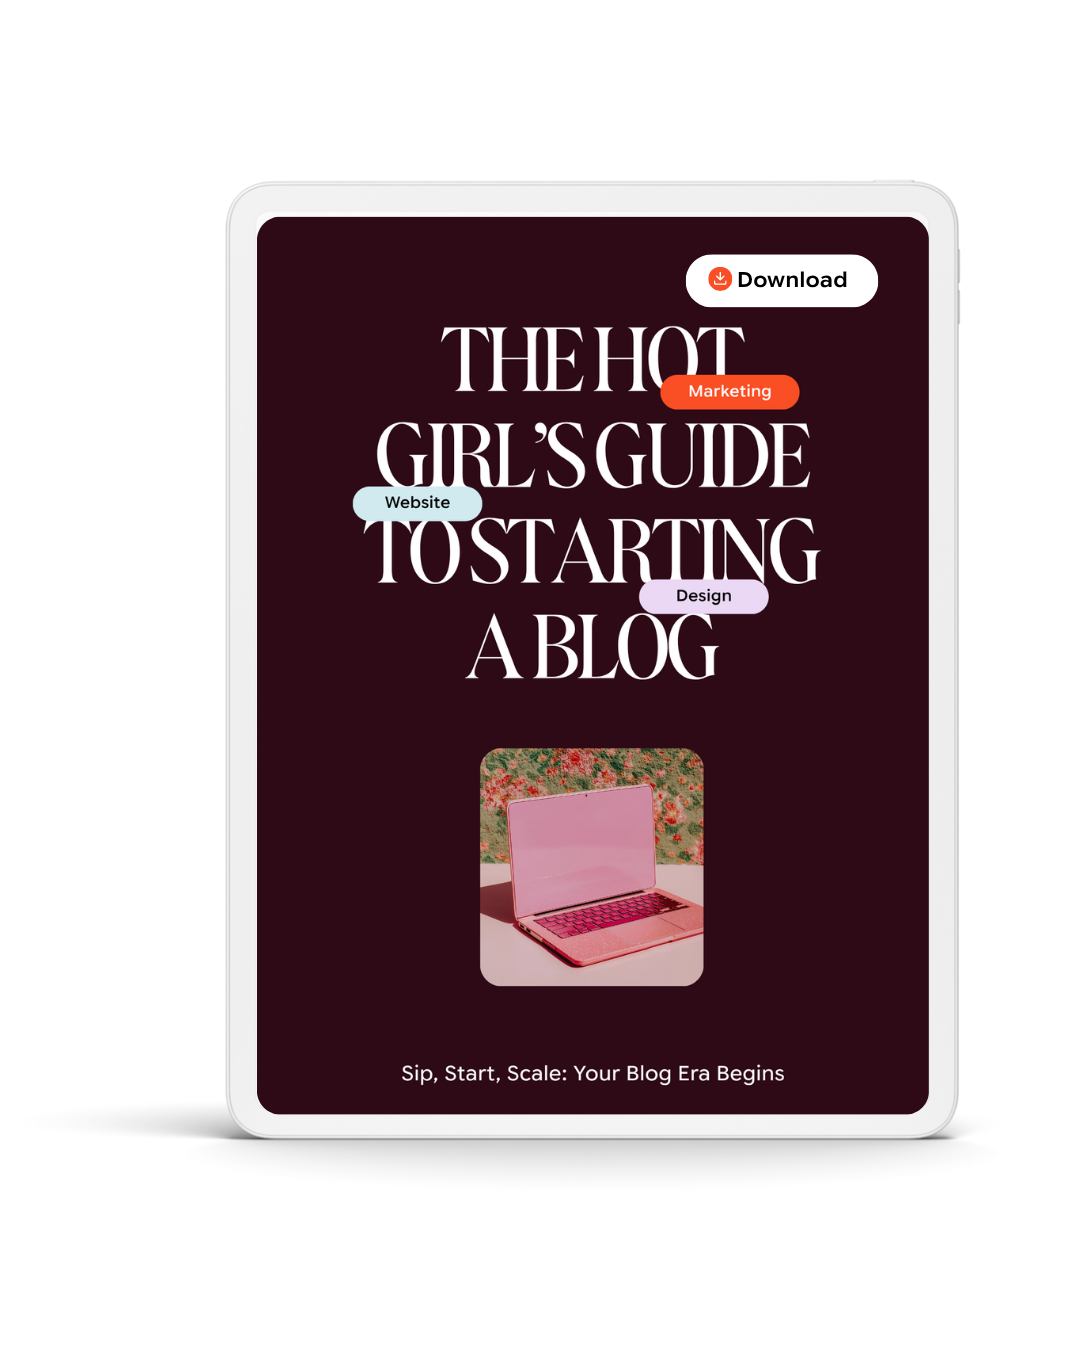
What Is a Lead Magnet (And Why It Matters)
A lead magnet is a free resource you offer in exchange for someone’s email address. It’s usually hyper-specific, solves a real problem quickly, and gives your audience a taste of what it’s like to learn from or work with you.
Why Bloggers Need a Lead Magnet
If you’re relying only on social media or blog traffic, you’re building an audience on borrowed land. A lead magnet helps you:
- Capture readers while they’re already engaged with your content
- Turn anonymous visitors into real people on your email list
- Warm people up for your offers, services, or affiliate content
Think of it as the bridge between “That was a great blog post” and “I want to hear from you every week.”
What Makes a Lead Magnet Convert (Instead of Collecting Dust)
High-converting lead magnets usually have a few things in common:
- They solve one clear, specific problem
- They’re quick to consume and implement
- They feel tailored to your ideal reader, not “everyone on the internet”
- They naturally connect to your paid offers or core content
If your freebie is too broad, too fluffy, or too overwhelming, people either won’t sign up or won’t use it, which defeats the point.

Step 1: Get Clear on Who You’re Creating It For
Before you design a single page or open Canva, you need to know exactly who this lead magnet is for.
Identify Your Ideal Subscriber
Ask yourself:
- Who is the specific person I want on my list?
- What stage are they in — total beginner, intermediate, or advanced?
- What are they currently struggling with that I can help solve quickly?
The more specific you are, the easier it is to create a lead magnet that feels like it was made just for them.
Choose One Core Problem to Solve
A common mistake is trying to cram too much value into one freebie. Instead, focus on solving one high-priority problem, such as:
- “I don’t know what to post on my blog or socials”
- “I want to start email marketing, but don’t know what to send”
- “I’m getting traffic, but nobody is subscribing”
Your lead magnet should be the shortcut between “I’m stuck” and “Oh, that was easier than I thought.”
Step 2: Choose the Right Type of Lead Magnet
Once you know who it’s for and what problem you’re solving, pick a format that delivers that solution in the simplest way.
Popular Lead Magnet Types for Bloggers
Here are a few formats that tend to convert well:
- Checklists and cheat sheets: Perfect for step-by-step tasks or recurring workflows.
- Swipe files and templates: Great for copy, content ideas, email prompts, or scripts.
- Mini guides or quick-start roadmaps: Ideal for beginners who need direction without a full course.
- Content calendars or planners: Helpful for creators who struggle with consistency.
- Quizzes or assessments: Fun, interactive, and perfect for segmenting your list.
How to Match Format to Problem
Think about the fastest path to a win:
- If your audience is overwhelmed, a short checklist or one-page cheat sheet is better than a 40-page ebook.
- If they need words or ideas, templates, prompts, or swipe files will feel like magic.
- If they’re unsure where they stand, a quiz or assessment can give clarity and next steps.
Choose the format that feels like the easiest “yes” for your ideal subscriber.
Step 3: Craft a Compelling Promise
Your lead magnet’s value is only as strong as how clearly you communicate it.
Turn Features into Benefits
Instead of focusing on what’s inside the freebie, focus on the outcome. For example:
- Instead of: “A 15-page PDF about email marketing”
- Try: “Write your next 3 email newsletters in under an hour”
Your promise should answer the question your reader is already thinking: “What will this help me do faster, easier, or better?”
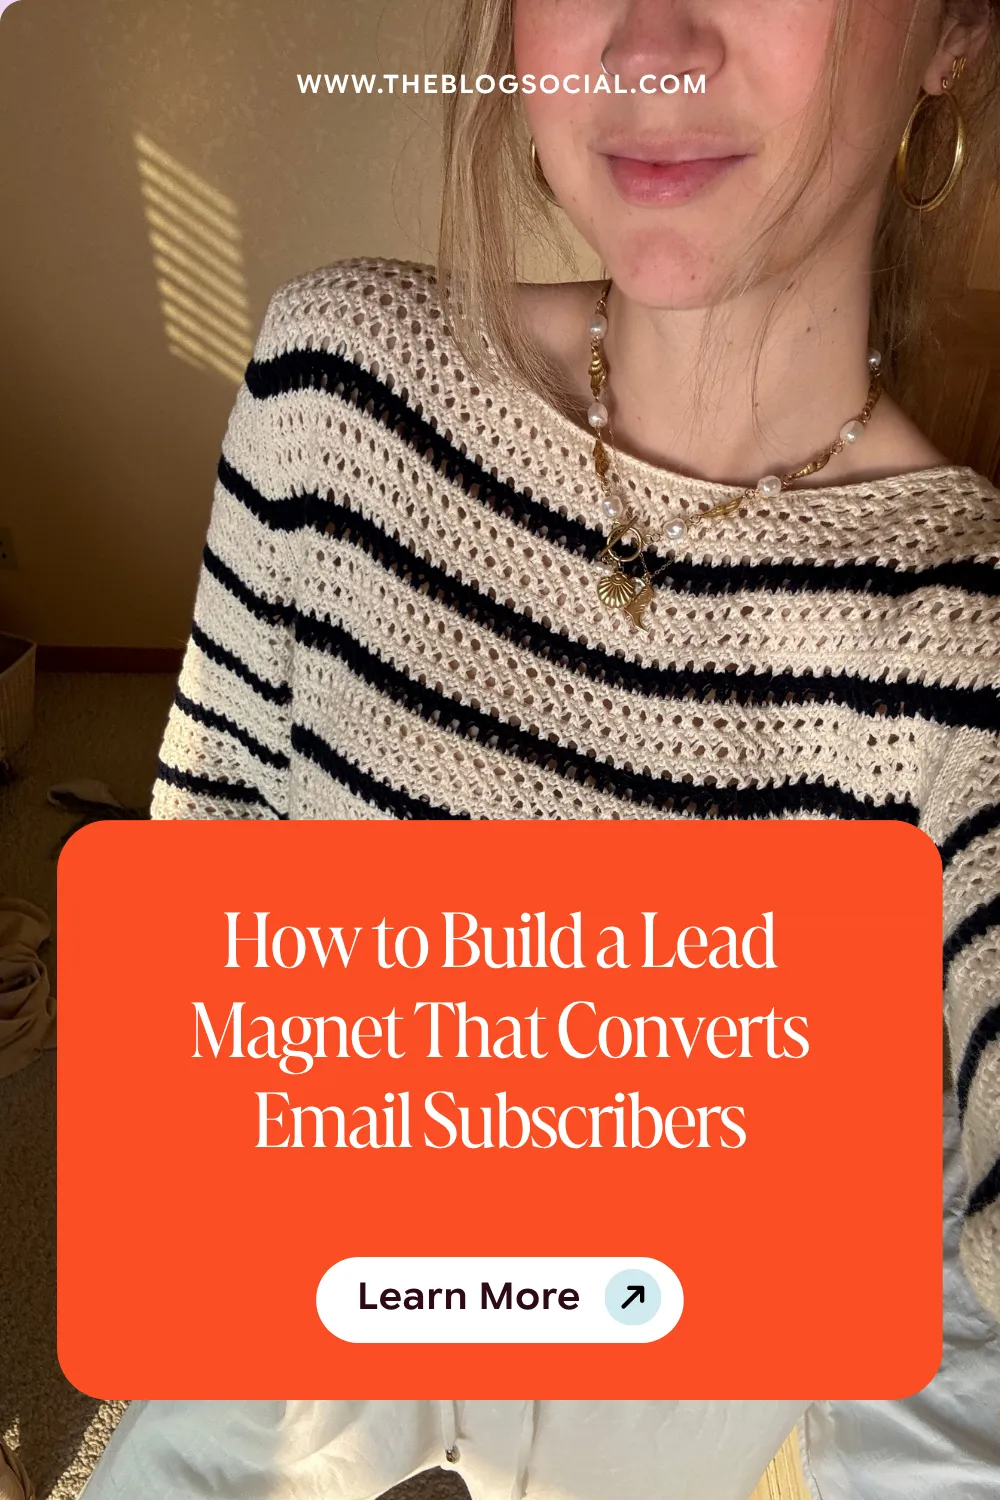
Write a Clear, Specific Title
A strong title is specific, outcome-focused, and easy to understand at a glance. For example:
- “30 Blog Post Ideas for Beginners Who Want More Traffic”
- “The One-Page Lead Magnet Planner to Launch Your First Freebie This Week”
- “The Ultimate Pinterest Pin Checklist for Click-Worthy Pins Every Time”
If you can, include who it’s for and what result it helps them achieve.
Step 4: Outline the Content (Before You Design It)
Now that you have your promise and format, it’s time to map out what actually goes inside.
Keep It Simple and Actionable
Your lead magnet doesn’t need to be long. It needs to be useful. Start with:
- A short intro that validates their struggle and sets the expectation (“Here’s what this will help you do.”)
- The core content is broken into clear steps, sections, or prompts
- A simple wrap-up with next steps and a gentle call to action
Aim for something your subscriber can use or implement in one sitting.
Align the Content With Your Offers
Your lead magnet should naturally lead into the next step with you, such as:
- Reading a related blog post
- Joining a waitlist
- Booking a discovery call
- Checking out a digital product or service
Ask: “If they love this freebie, what’s the logical next step?” Then make sure the content and examples point in that direction.
Step 5: Design a Lead Magnet That’s Easy to Use
This is where your design tool of choice comes in — Canva, Google Docs, Notion, or even a simple Google Sheet.
Design for Clarity, Not Just Aesthetics
Cute fonts and colours are fun, but usability comes first. Keep in mind:
- Use readable fonts and a clear hierarchy for headings and body text
- Add enough white space so it doesn’t feel cramped or overwhelming
- Use bullet points, checkboxes, and short paragraphs to keep things skimmable
- Highlight key steps, tips, or action items so they stand out
The goal: your subscriber should be able to glance at it and know exactly what to do.
Stay On-Brand Without Overcomplicating It
You don’t need a custom brand kit to make your lead magnet feel cohesive. Use:
- Your brand colours for headings, accents, and buttons
- Consistent fonts across your blog, lead magnet, and social graphics
- A simple cover page that includes the title, your name, and website
Done is better than perfect. You can always refine the design later once it’s live and collecting subscribers.
Step 6: Add Strategic Calls-to-Action Inside Your Lead Magnet
Your lead magnet isn’t just a free gift — it’s the start of a relationship.
Include a “Next Step” on the Final Page
On the last page or section, add a clear call-to-action, such as:
- “Read this blog post next to go deeper on this topic.”
- “Want more support? Learn about my [service or offer].”
- “Reply to this email and tell me your biggest takeaway.”
This nudges your new subscriber toward further engagement instead of downloading and disappearing.
Sprinkle Gentle CTAs Throughout
If it feels natural, you can also:
- Mention relevant blog posts as “for further reading”
- Reference your paid products or services as ways to get extra support
- Invite them to connect on your main platform (like Instagram or Pinterest)
Keep it light and value-first. You’re guiding, not hard-selling.
Step 7: Set Up the Tech and Delivery
Now it’s time to connect your lead magnet to your email marketing platform so subscribers actually receive it.
Create a Simple Opt-In Form
In your email service provider, create:
- A dedicated form or landing page for this specific lead magnet
- A short form asking only for what you really need (usually first name and email)
- Clear copy that repeats your lead magnet’s promise and benefits
The fewer fields, the higher the conversion rate tends to be.
Automate the Delivery Email
Set up a workflow or automation that:
- Sends a welcome email as soon as someone signs up
- Includes a clear button or link to access the lead magnet
- Repeats what they’ll learn or achieve with it
- Sets expectations for how often they’ll hear from you
This first email is your chance to make a great first impression, so keep it warm, simple, and human.
Step 8: Promote Your Lead Magnet on Your Blog and Beyond
A beautiful lead magnet hidden in a single sidebar widget is not a strategy. You need to actively put it in front of the right people.
Promote It Across Your Blog
Here are a few places to feature your lead magnet:
- In-line opt-in forms inside related blog posts
- A feature box at the top or bottom of your most popular posts
- A dedicated “Freebies” or “Start Here” page
- Your blog sidebar, header bar, or footer
Make sure the copy near each form clearly explains the benefit of signing up.
Share It on Social Media and Pinterest
You can also:
- Create social posts that speak to the problem your lead magnet solves
- Share behind-the-scenes of what’s inside
- Add it to your social media bios or link-in-bio pages
- Design multiple Pinterest pin graphics that drive traffic straight to your opt-in page
The more entry points you create, the more consistently your list will grow.
Step 9: Measure, Tweak, and Improve
Once your lead magnet is live, give it time to collect data — then improve it based on what you see.
Track the Right Metrics
A few numbers to keep an eye on:
- Opt-in conversion rate (how many visitors sign up)
- Click rate on the download button inside your welcome email
- Replies or engagement from new subscribers
- How many people eventually buy or book from this funnel
You don’t need to obsess over every number, but paying attention will show you what’s working.
Optimise Based on What You Learn
If something feels off, ask:
- Is the promise clear enough on the opt-in page?
- Is the freebie too broad, too vague, or too long?
- Is there a stronger blog post or topic I could align it with?
Sometimes, small tweaks to your headline, form placement, or cover page can make a big difference.
Final Thoughts: Your Lead Magnet Is the Start of the Relationship
A high-converting lead magnet doesn’t have to be complicated. When you:
- Know who you’re creating it for
- Solve one clear, urgent problem
- Deliver it in a simple, actionable format
- Connect it to the next step in your business
…you turn casual readers into subscribers who are excited to hear from you.
Start with one solid, strategic lead magnet. Get it live. Promote it consistently. Then, refine and build from there as your email list — and your business — grows.