

Setting up a Pinterest account feels straightforward until you are actually doing it and you realise there are about twelve settings you did not know existed, a distinction between personal and business accounts that matters more than anyone warned you about, and a profile that either signals “serious blogger” or “abandoned mood board” to the algorithm within the first 24 hours.
I want you to get this right the first time. Not because perfection matters, but because a poorly set-up Pinterest account is genuinely harder to grow than one that started with the right foundations. The ten minutes you spend on setup today are ten months of easier distribution later.
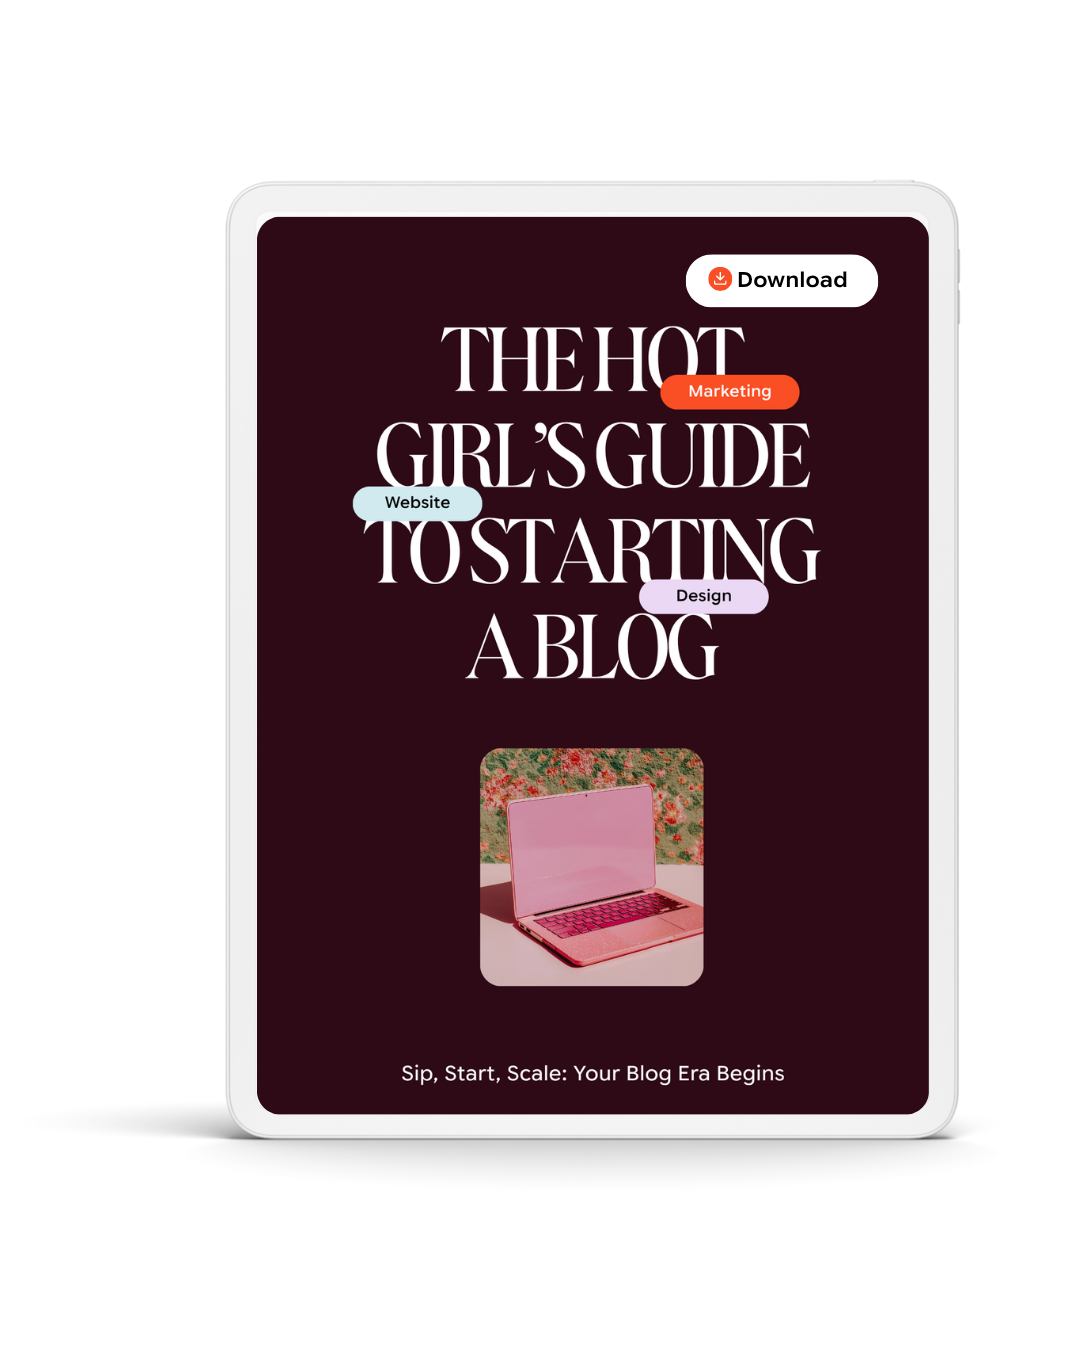
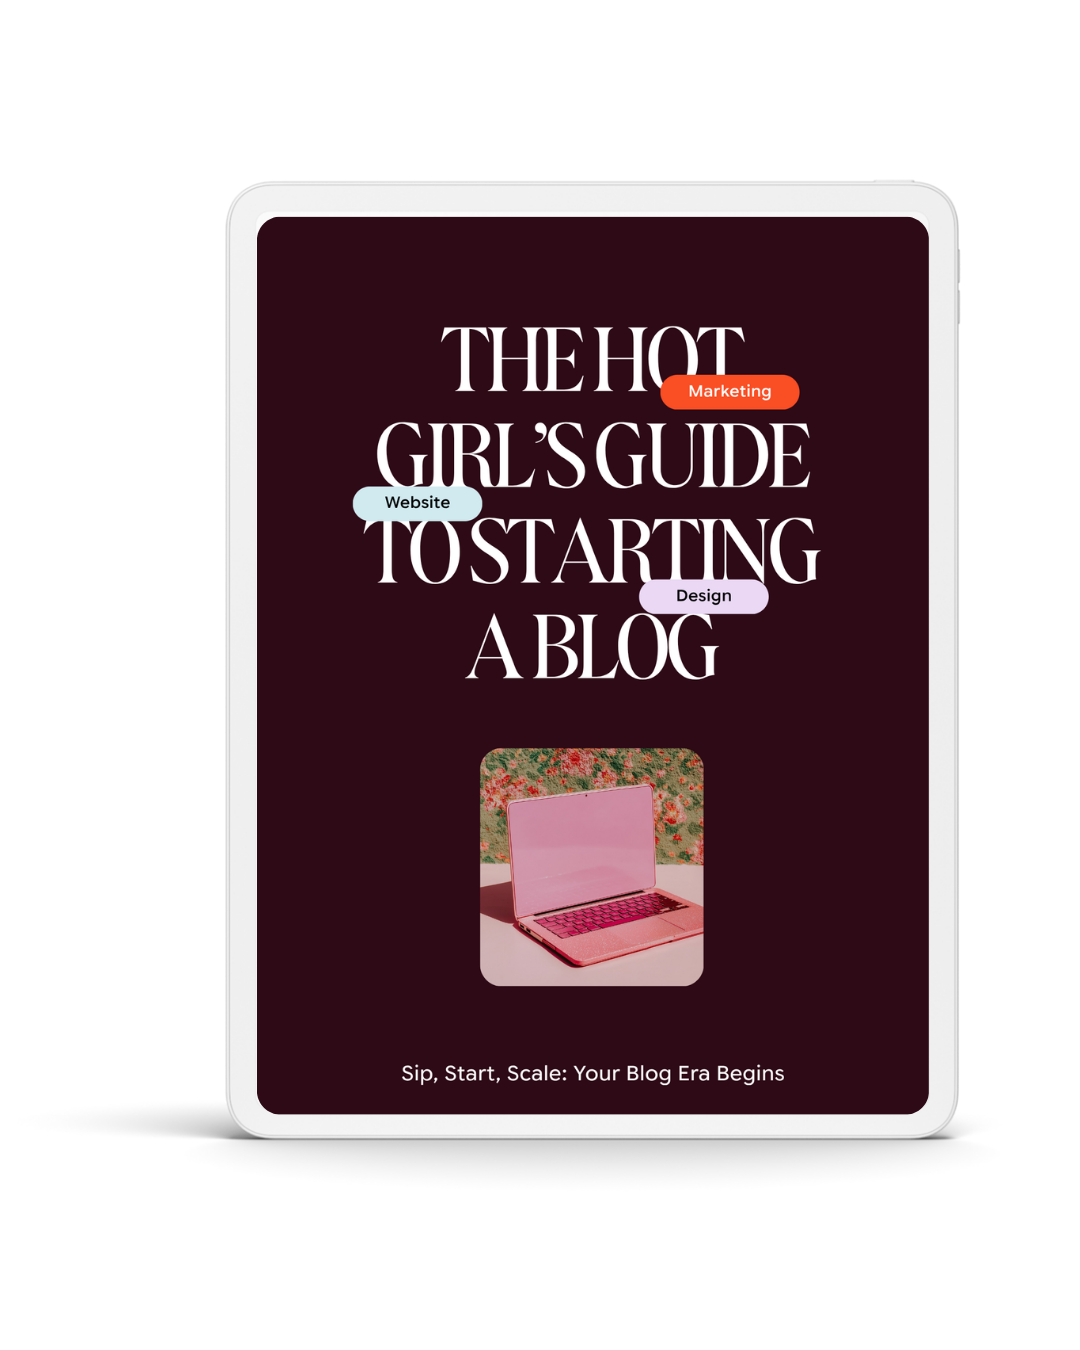
This is the step-by-step new Pinterest account setup guide I wish I had when I started. We are covering: why a business account is non-negotiable, how to optimise every part of your profile for search, how to set up boards strategically rather than randomly, and what to do in the first week after setup to tell Pinterest exactly who you are. No fluff. Just the checklist.
Business Account vs Personal Account: Why This Is Not Optional
This is the first decision and the most important one. If you have already created a personal Pinterest account, keep reading — converting it takes two minutes, and I will show you how.
A Pinterest business account gives you access to three things a personal account does not: Pinterest Analytics, which shows you which pins are driving traffic to your blog; the ability to claim your website, which verifies your content and signals to Pinterest that you are a legitimate publisher; and Rich Pins, which automatically pull metadata from your blog posts and display them on your pins.
You cannot grow a blog using Pinterest without knowing which pins are working. And you cannot know which pins are working without analytics. A personal account is a mood board. A business Pinterest account is a traffic system. For a blogger, there is only one right answer here.
How to convert a personal account to a business account
Go to Pinterest Settings, select Account Management, and click “Convert to business account.” It takes under two minutes, and you keep all your existing pins and boards. There is no cost. There is no downside. Do it now if you haven’t already.
If you are starting from scratch with a new Pinterest account setup, select “Create a business account” from the sign-up page rather than the standard sign-up option.
The Full Pinterest Business Account Setup Checklist
Work through this in order. Each step builds on the last. The whole thing takes ten minutes if you have your blog URL, a profile photo or logo, and a one-sentence description of what your blog covers. Have those ready before you start.
01. Set your profile photo or logo
Use a clear, recognisable image — either a professional headshot or your blog logo. Pinterest is a visual platform, and your profile image appears next to every pin you publish. Make it something your reader would recognise. Square images at 165 x 165 pixels work best.
02. Optimise your Pinterest account’s display name for search
This is not just your name or your blog name. It is your name plus a keyword descriptor. Example: “Candice | Blogging Strategy + Pinterest Tips” instead of just “Candice Sandler.” Pinterest uses your display name in its search index. Tell the algorithm and your reader exactly what you do.
03. Write a keyword-rich bio (under 160 characters)
Your bio tells Pinterest what your profile is about. Write it the way your ideal reader would search for you. Include your niche, your reader’s goal, and a soft CTA if space allows. Example: “Blogging strategy and Pinterest tips for introverted creators who want traffic without the overwhelm.” Plain. Specific. Searchable.
04. Add your website URL
In your profile settings on your Pinterest account, add your blog URL. This is separate from claiming your website (step 5), but it is the prerequisite for it. Make sure the URL is correct and links to your live blog, not a coming soon page.
05. Claim your website
Go to Settings in your Pinterest account, then Claim, then enter your website URL. Pinterest will give you a piece of code to add to your site. If you are on WordPress, the easiest way to do this is via the Yoast SEO plugin or by pasting the verification tag into your theme’s header. Once claimed, a globe icon and your website URL appear on your profile, and your pins display your profile photo automatically.
06. Enable Rich Pins
Rich Pins pull metadata directly from your blog posts — the title, description, and your site name — and display them on the pin automatically. This makes your pins look more professional and keeps information accurate, even if the pin is shared by someone else. To enable Rich Pins, go to the Pinterest Rich Pins Validator, enter your blog URL, and follow the approval steps. It takes 24 to 48 hours to activate.
07. Set up Pinterest Tag (optional but worth doing now)
The Pinterest Tag is a small piece of code you add to your website that tracks conversions and audience behaviour. If you ever want to run Pinterest ads or build a retargeting audience, this needs to have been running for a while before it is useful. Set it up now, even if you have no immediate plans to use it. Found under Ads in the top menu, then Conversions.
08. Create your first 5 to 8 boards
Boards are the architecture of your Pinterest profile, and they carry significant SEO weight. Each board title should be a phrase your reader would actually search — not a cute name you came up with, but a keyword. Full guide on this in the next section.
09. Add board descriptions to every board
Each board has a description field that most beginners leave blank. Do not. Write 2 to 3 sentences using the keywords that describe what that board covers. This is searchable text that Pinterest uses to understand and distribute your content.
10. Pin at least 10 pieces of content to each new board
An empty board signals nothing to Pinterest. Before you start actively promoting your profile, make sure each board has a minimum of 10 pins — a mix of your own content and relevant content from other creators in your niche. This gives the algorithm enough signal to understand what each board is about and who to show it to.
A poorly set-up Pinterest account is harder to grow than one that started right. Ten minutes now saves ten months of confusion later.
How to Set Up Pinterest Boards the Strategic Way
Boards are not just organisational folders. They are a core part of your Pinterest SEO strategy. Pinterest reads your board titles and descriptions to understand what your profile covers and who to show your content to. A board called “Things I Love” tells the algorithm nothing. A board called “Pinterest Marketing Tips for Bloggers” tells it exactly who to put you in front of.
How to name boards for search
Every board title should be a phrase someone would type into Pinterest’s search bar. Think about your reader, her goals, and the problems she is trying to solve. Those searches become your board names.
Blog Post Ideas for Bloggers
Targets bloggers in the ideation stage — high search volume, clear intent
Pinterest Marketing Tips for Bloggers
Broad enough to hold multiple pin types, specific enough to rank
Email List Building for Bloggers
Directly targets the reader who wants to grow her list
How to Start a Blog in 2026
Year modifier boosts relevance in search results
How to Make Money Blogging
High search intent — reader is actively looking for this
AI Tools for Content Creators
Timely, growing search category — worth owning early
Start with five to eight boards that map directly to your content pillars. You can always add more. A focused Pinterest profile with fewer well-optimised boards consistently outperforms a cluttered profile with forty boards that mean nothing to the algorithm.
The do and don’t of board names
- Use searchable phrases your reader would type
- Include your niche or audience in the title
- Add year modifiers where relevant
- Write board descriptions using related keywords
- Keep board names specific and declarative
- Cute names that only make sense to you
- Single-word board titles like “Blogging”
- Leaving board descriptions empty
- Creating boards you will never pin to
- Duplicating boards with overlapping topics
What to Do in Your First Week on Pinterest as a Blogger
Setup done. Now what? The first week matters because Pinterest is watching your new account for signals about what kind of creator you are, how consistently you show up, and whether your content connects with real people. Here is what to focus on.
- Pin consistently from day one. You do not need to publish 30 pins on your first day. Five to ten pins per day, sustained across the first week, is far more valuable than a burst of 100 pins followed by silence. Consistency signals activity. Activity earns distribution.
- Mix your own content with curated content. If you are just starting your blog, you may not have enough of your own posts to pin yet. That is fine. Pin relevant, high-quality content from other creators in your niche to fill out your boards. As your own content grows, your ratio of original pins naturally increases.
- Write keyword-rich pin descriptions for every pin you create. The description field is not optional. It is where you tell Pinterest what your pin is about so it can show it to the right people. Include your primary keyword, a hook or pain point, and end with a call to action.
- Use a scheduler from the start. Manually pinning every day is not sustainable. I use Tailwind to queue pins in advance so my account stays active even when I am not thinking about Pinterest. Set it up in the first week and queue two to three weeks of content. Then your Pinterest strategy runs in the background while you focus on creating.
- Check your analytics at the end of week one. Not to judge your performance — it is too early for that — but to understand what the dashboard looks like and which metrics matter. The number to watch is outbound clicks, not impressions. Get comfortable reading the data early so you are not flying blind later.
The One Thing Most Beginners Skip That Costs Them Months of Growth
Claiming your website and enabling Rich Pins. I listed both in the checklist above, but I am saying it again here because the number of bloggers I see pinning consistently for months without doing this is genuinely surprising.
When your website is claimed, Pinterest attributes all pins that link to your site to your profile — even pins created by other people from your blog posts. That means every time someone saves something from your site, it connects back to you and strengthens your profile’s authority. Without a claimed website, you are essentially invisible as the original source of your own content.
Rich Pins do something similar: they pull your blog post’s title and meta description directly from your site and display it on the pin automatically. This means even if someone creates a pin from your blog post with a vague or incorrect description, the Rich Pin data overrides it with accurate information. It looks more professional. It ranks better. It is worth the twenty minutes it takes to set up.
Neither of these things requires a developer or a tech background. They require following a set of instructions once. Do them this week, before you pin anything else, and your Pinterest account will be set up to benefit from every piece of content you ever publish from this point forward.
Key Takeaways
- A Pinterest business account is not optional for bloggers. Analytics, website claiming, and Rich Pins are all locked behind it, and all three are foundational to a Pinterest strategy that actually drives blog traffic.
- Board names are SEO real estate. Every board title should be a phrase your reader would search for, not a label that makes sense only to you. Start with five to eight boards mapped to your content pillars and write keyword-rich descriptions for every single one.
- Claim your website and enable Rich Pins before you pin a single thing. These two steps take under 30 minutes combined, and they make every piece of content you ever publish more visible and more attributable to your profile from day one.
Pinterest is one of the most popular platforms on the internet. It rewards consistency, and it compounds over time. But it only rewards the setup you gave it to work with. Get the foundations right today, and the algorithm has everything it needs to start sending traffic your way.
Set it up. Pin with purpose. Let it work. 📌


One Response
I love a good checklist, and this is such a helpful one! Pinterest can feel overwhelming when you’re first getting started, so having everything laid out step by step makes it much more manageable. Even as someone who’s been blogging for years, I still picked up a few helpful reminders. Great resource!